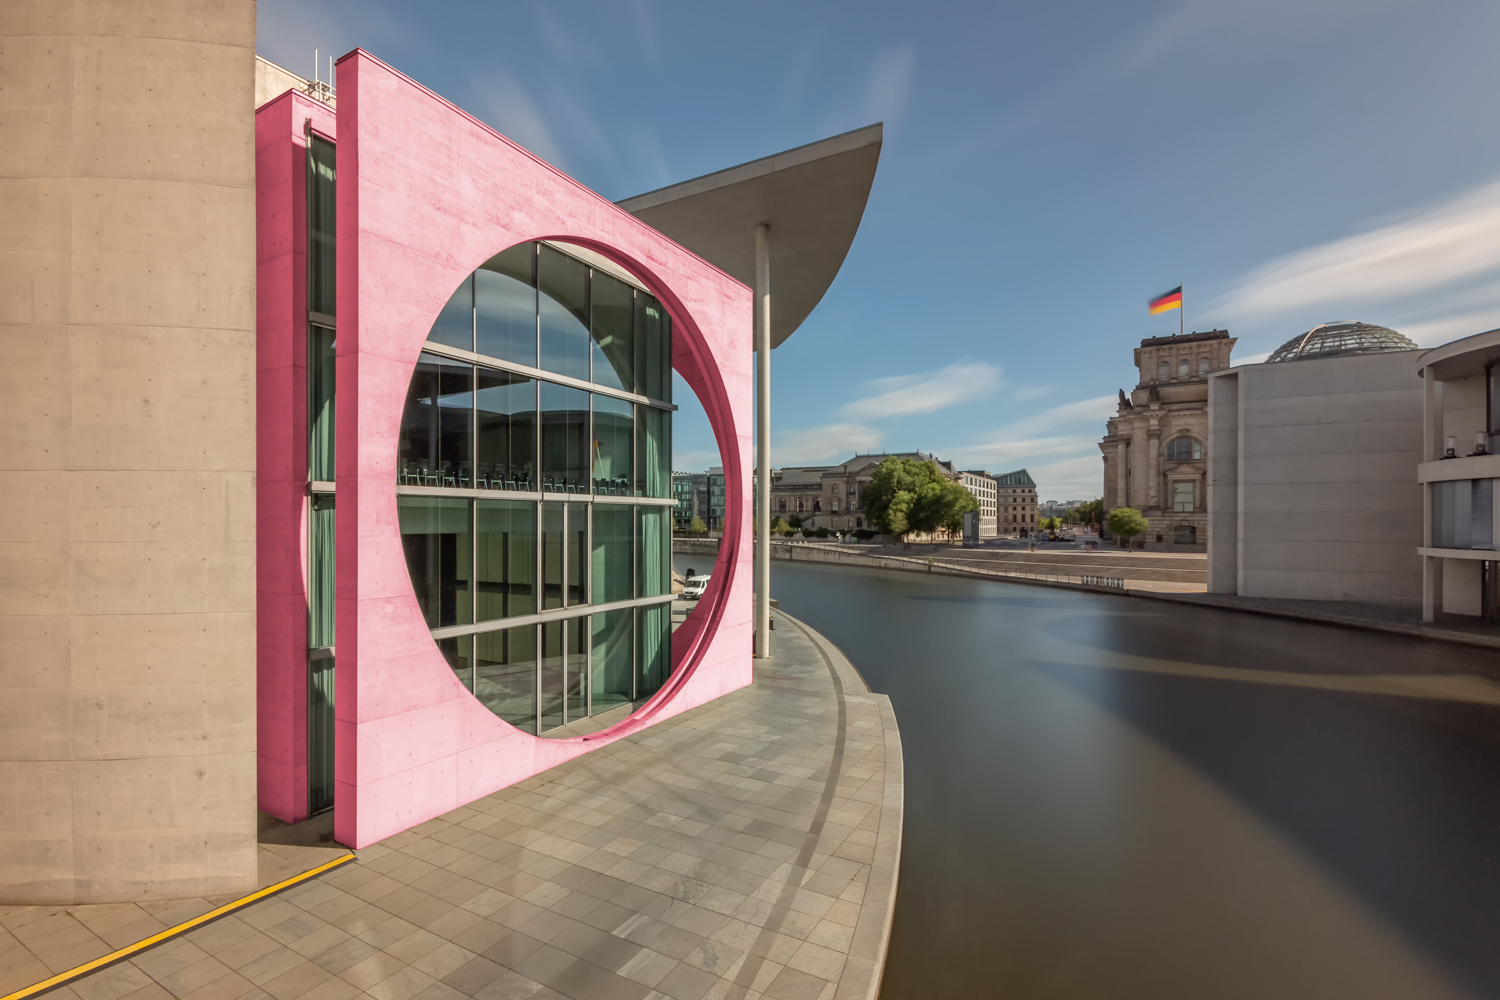
Lately, I spent some time shooting in the government district of Berlin. I was especially impressed with the Marie-Elisabeth-Lueders-Haus architecture and the way it corresponds with the Spree river and the Paul-Löbe-Haus.
From Wikipedia: “The architecture of the Paul-Löbe-Haus and the Marie-Elisabeth-Lüders-Haus form a unity, for example through the roof edges matching the Spree - one outwards and the other inward-swinging - and the bridge that the connecting buildings on both sides of the Spree and is called Marie-Elisabeth-Lüders-Steg . The architect of both houses describes the bridge as "jump over the Spree". The connection of the buildings from east to west symbolizes the togetherness of East and West Germany and is a counterbalance to the vision of the National Socialists from a later " world capital Germania " characterized by a north - south axis”.

Von Ansgar Koreng / CC BY 3.0 (DE), CC BY 3.0 de, https://commons.wikimedia.org/w/index.php?curid=47824802
I wanted to emphasize the unique geometries of the building in contrast with the subtle flow of the river and the clouds and decided to take a long exposure shot from the bridge over the Spree.
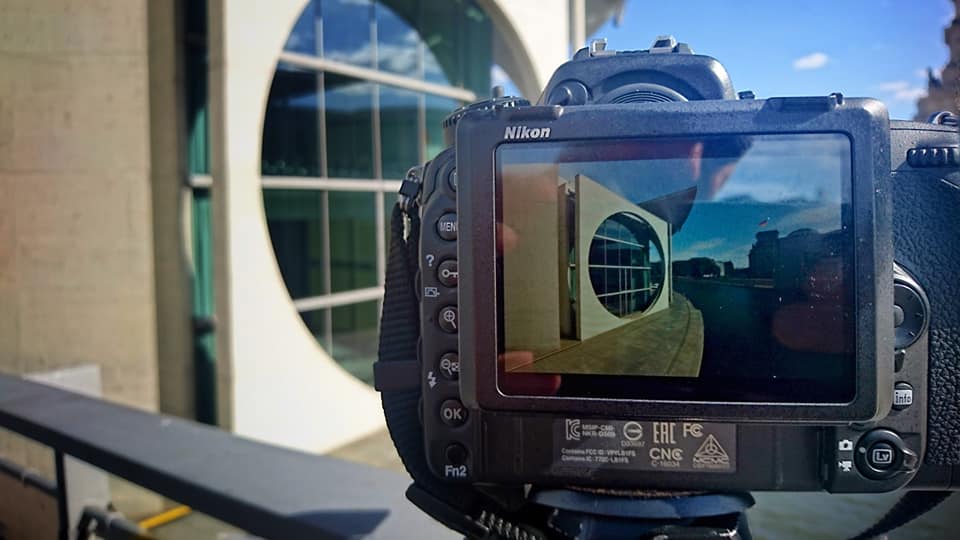
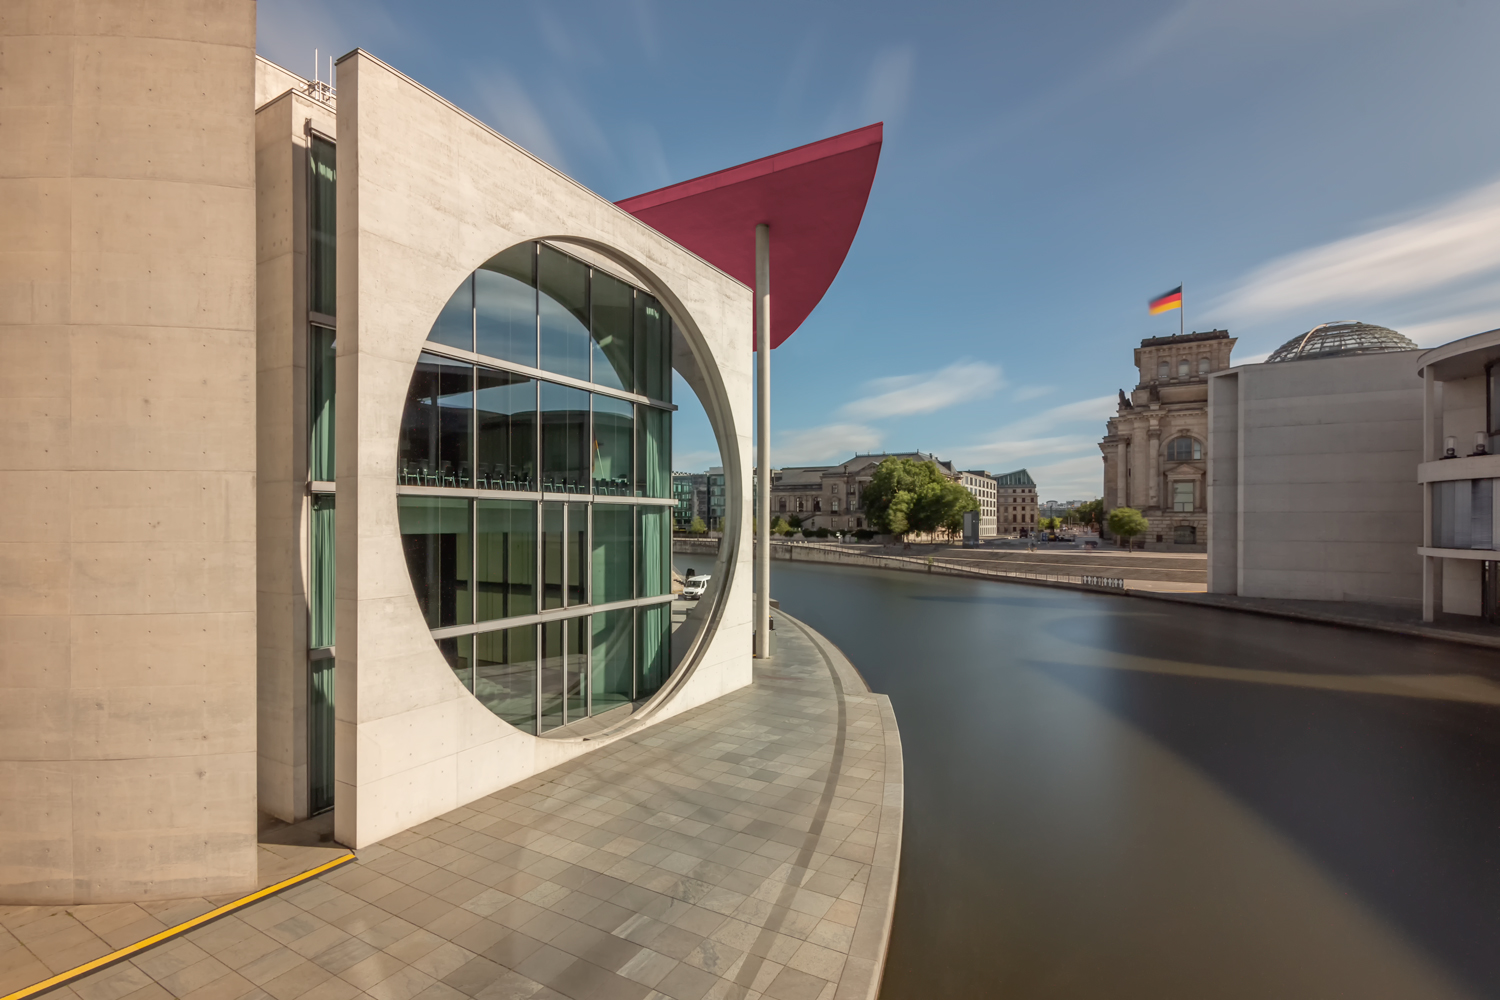
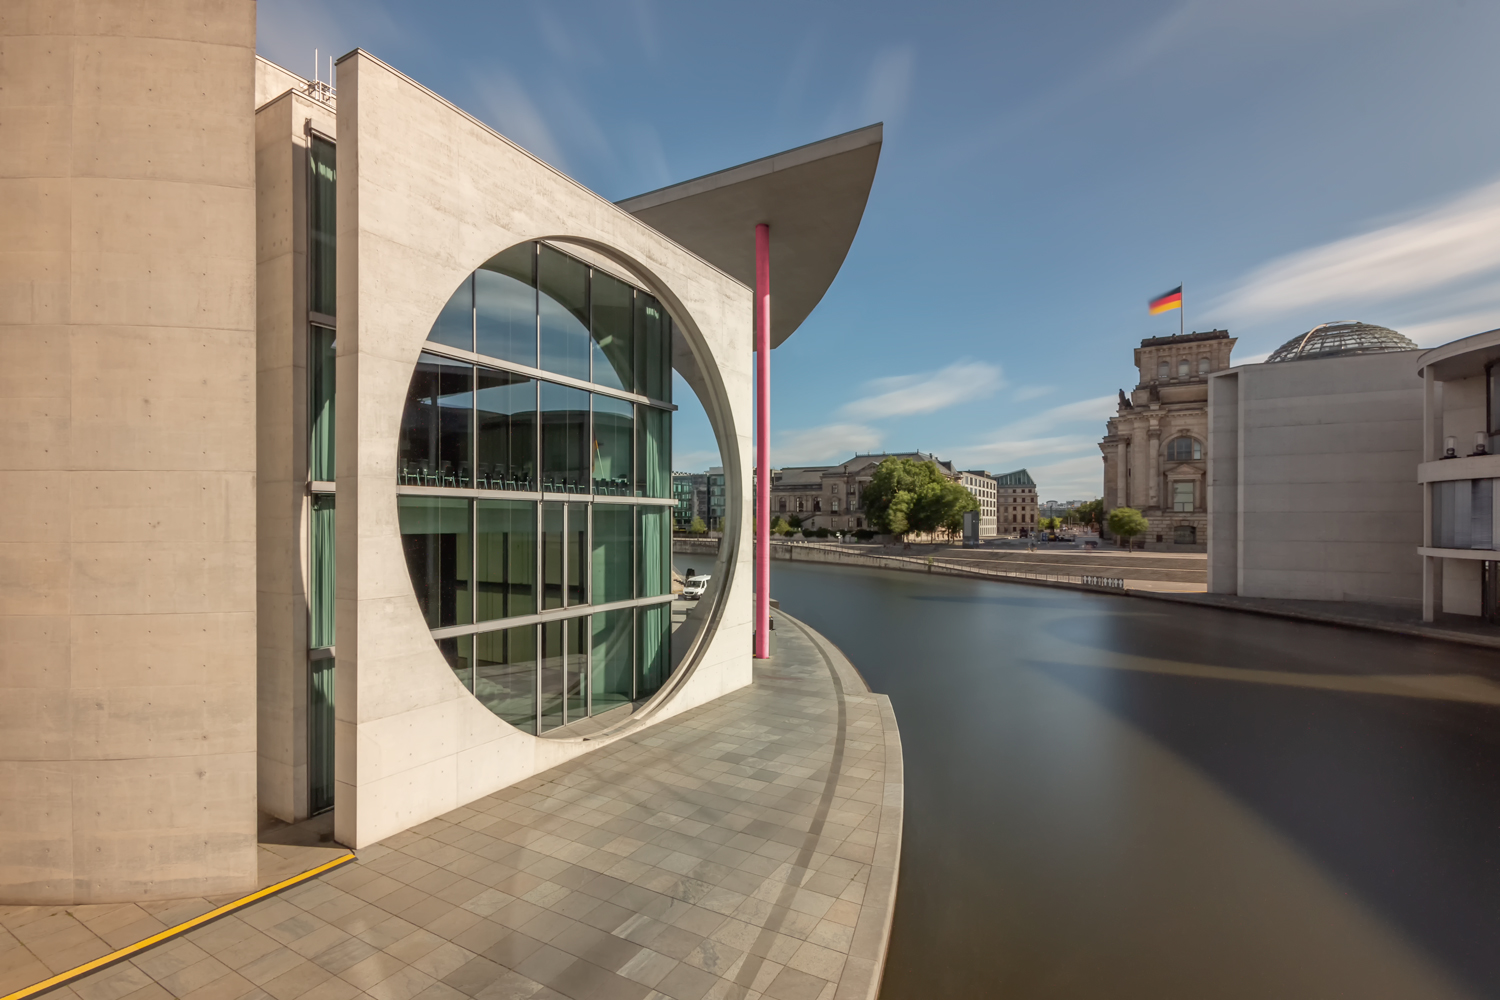
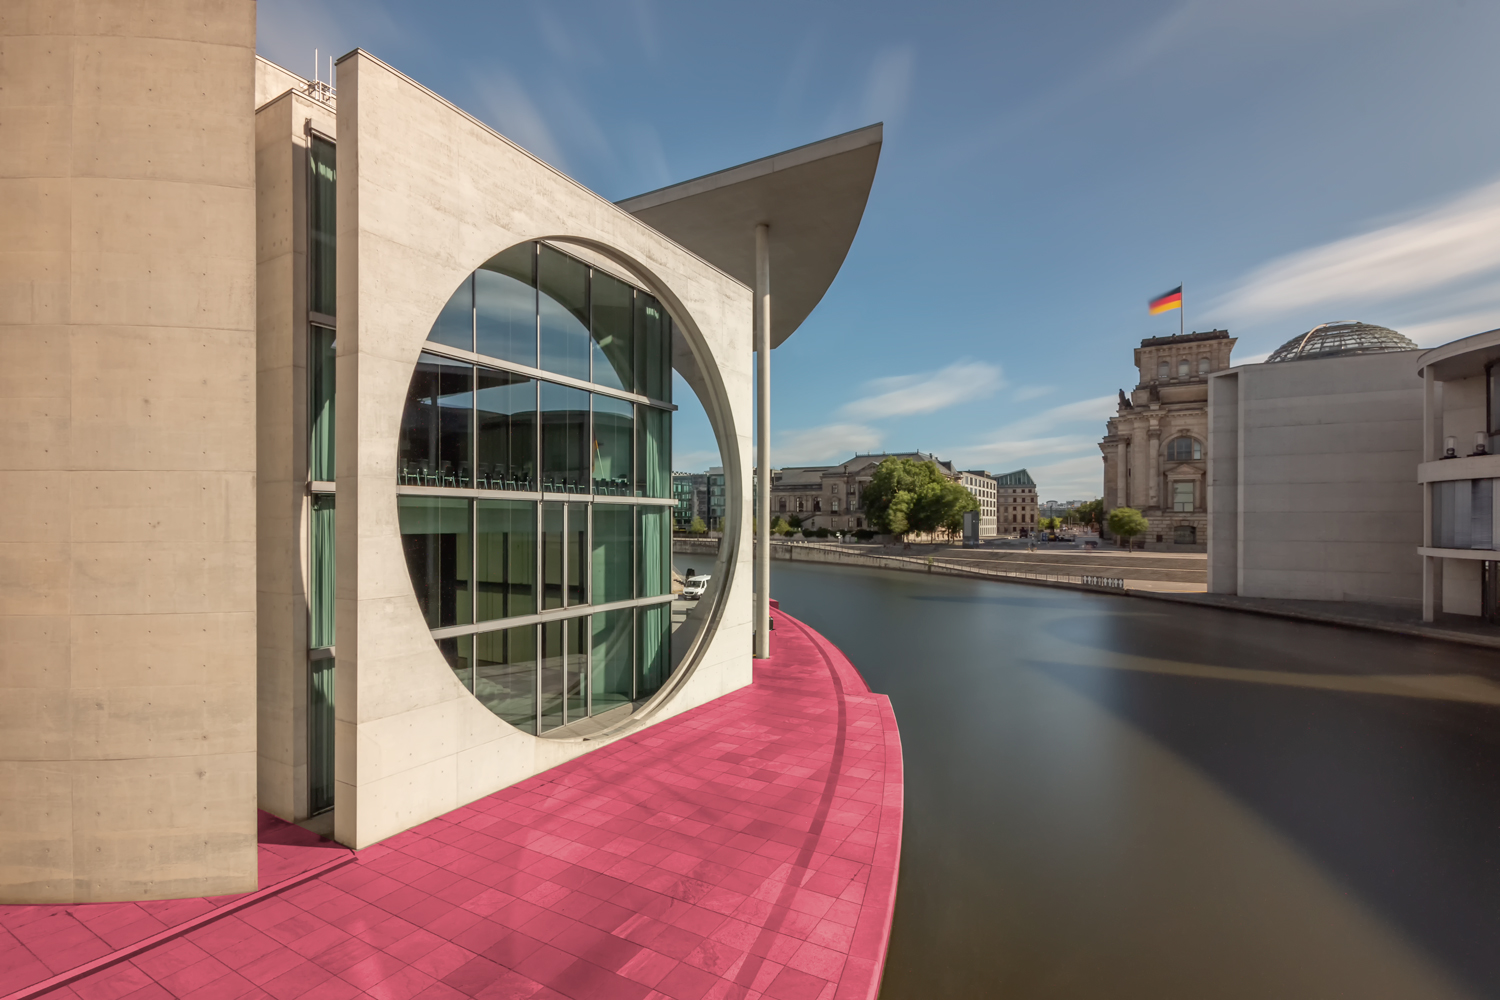
<Click the thumbnails for more info>


Gear
I used my Nikon AF-S DX Nikkor 10-24mm 1: 3.5-4.5G ED lens. I find it to be the most useful lens for my Nikon D500 body. It is light in weight and simple to use. It handles chromatic aberration quite well and yields a high quality result with minimal deformation, and most importantly- it enables me to open all the way to 10mm. I find those extra 2mm (compared to the well known Nikon 12-24 lens) makes a very big difference, especially on a DX body like mine.
To achieve this long exposure (350 sec in mid-day light) I used a Firecrest 16ND filter by Formatt-Hitech. I won’t add any words about how amazing it is- just click on the central thumbnail above to see the ‘out of the card’ photo- it speaks for itself!
Finally, to get maximum stability and minimize vibrations I used a solid Slik tripod and the RFN-4s Wireless Shutter Release by SMDV. I found it to be very useful as it is small, simple and reliable and keeps my Hot-Shoe free. I just never take it off.
Shooting and EXIF
Shooting from the bridge introduced some challenges such as micro-vibrations caused by people's movement on it and sudden bursts of wind that had me stabilizing the tripod some more using the weight of my backpack. The tourists boats going up and down the Spree river and the crowds of people strolling on the pavements had completely dissolved in the 350 seconds of exposure.
It took me 5-6 shot to get the desired result that you can see in the central thumbnail above.
The EXIF details are 10mm/ƒ/13.0/350s/ISO 100
Post Processing
After a very minor touch up in Lightroom that mainly consisted of applying the lens profile, fine tuning the composition and opening of the highlights (darkening) and shadows (highlighting) I moved to editing in Photoshop.
Cleaning

Stamp tool cleaning
As first step I use the Stamp Tool (and some other Photoshop wonders) to get rid of elements I don’t want to have in the frame. Anything goes: people, animals, stains on the pavement, burned pixels (oh.. I hate those)… in this frame I practically took off the speakers that were hanging down from the roof of the building as they were in the sky line and I found them taking too much attention. My goal in this stage is to achieve as smooth and as clean frame as I can get. One that will serve the ‘not-from-this-world’ atmosphere I strive to deliver.
Noise Reduction

Define- Noise reduction
Naturally, shooting such long exposures creates a lot of electronic noise in the frame, especially noticeable in dark areas. I used Nik Software’s Define plugin to reduce the noise with minimal impact on the details and sharpness. As I found the first round of noise reduction, not enough I had to go another round creating a 2nd layer in which I was happy with the result.
Selections
Accurately selecting the different lighting zones is probably the most important part in the post processing work. I used mixed techniques to achieve those selections utilizing Luminosity Masks and the versatile Pen Tool. Each selection was saved as a new channel so I will be able to reproduce it over and over again, as much as I would like.
Separating light from Darkness
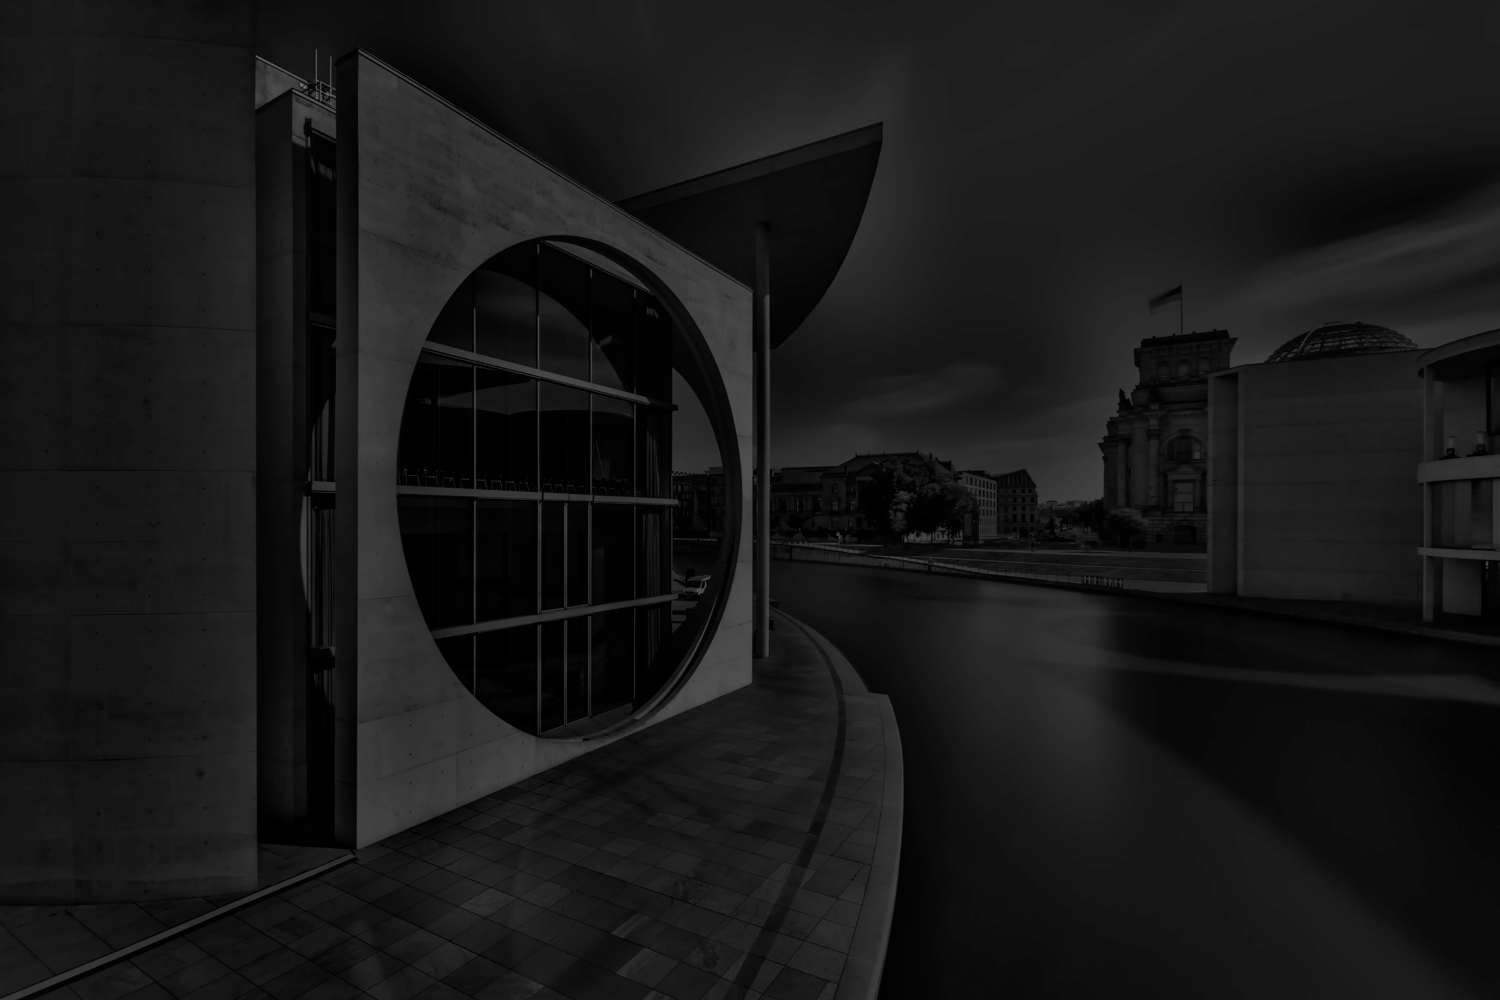
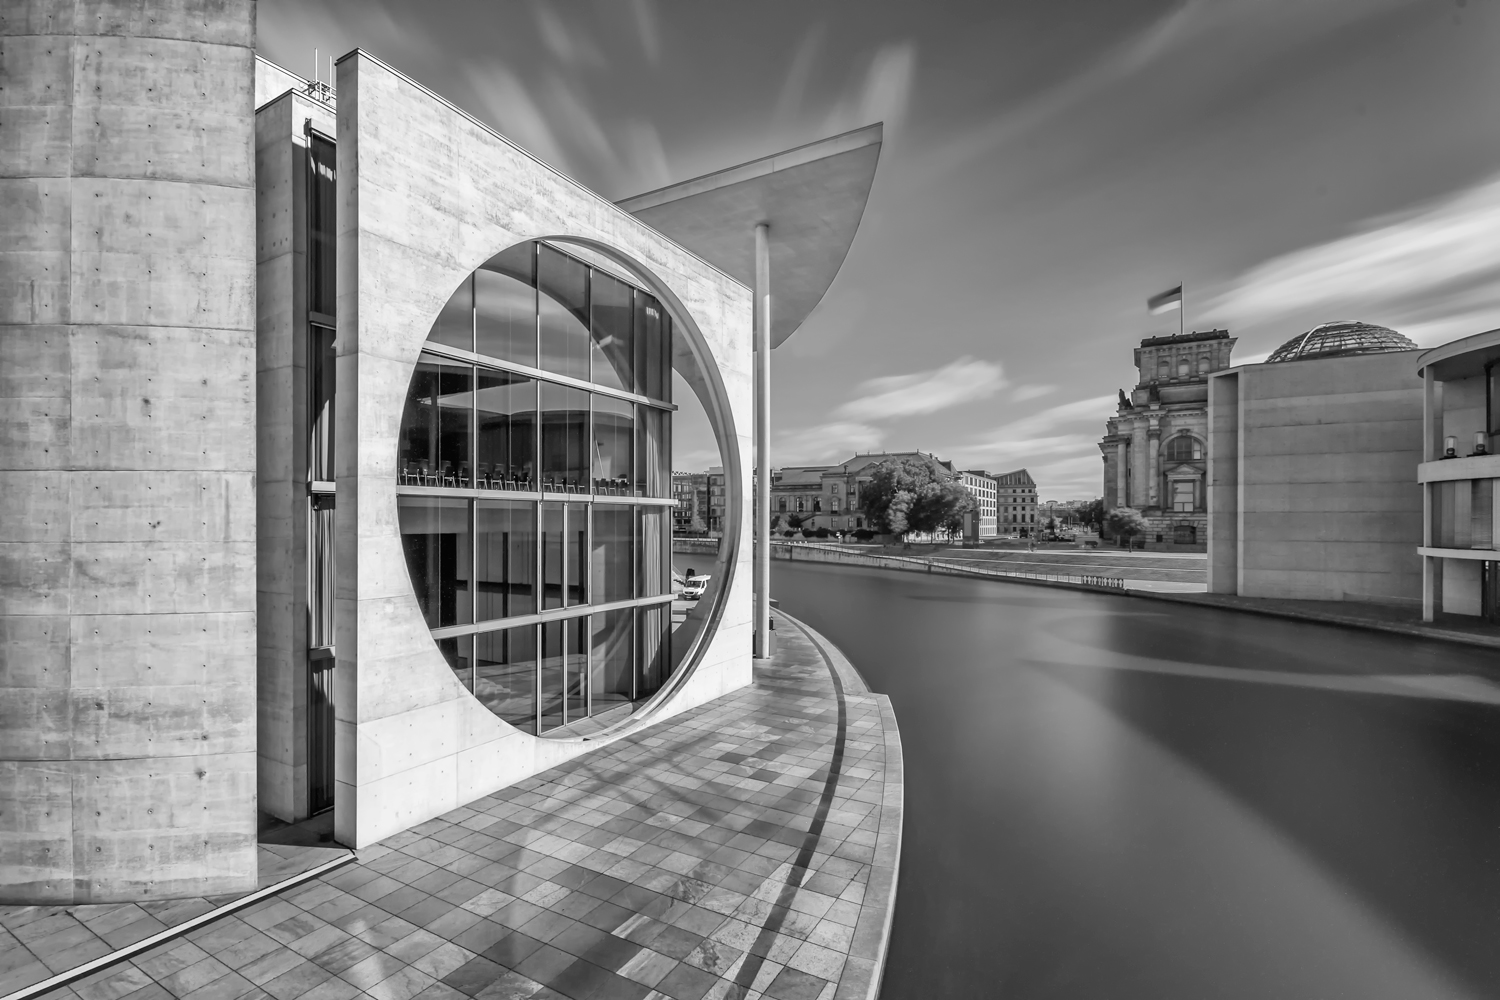
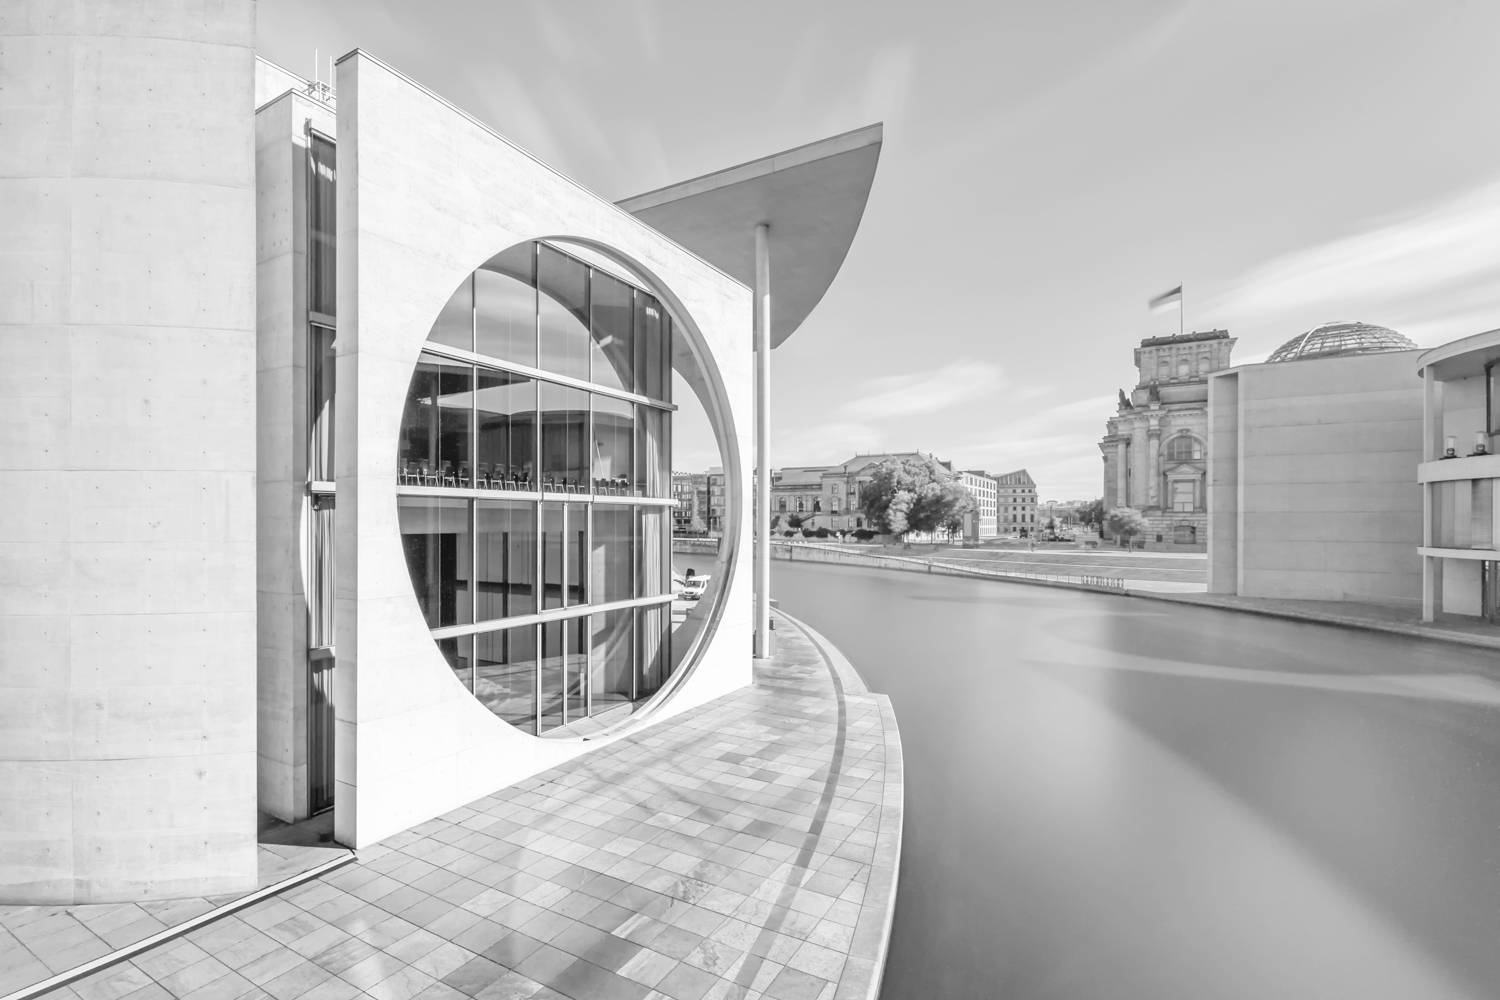
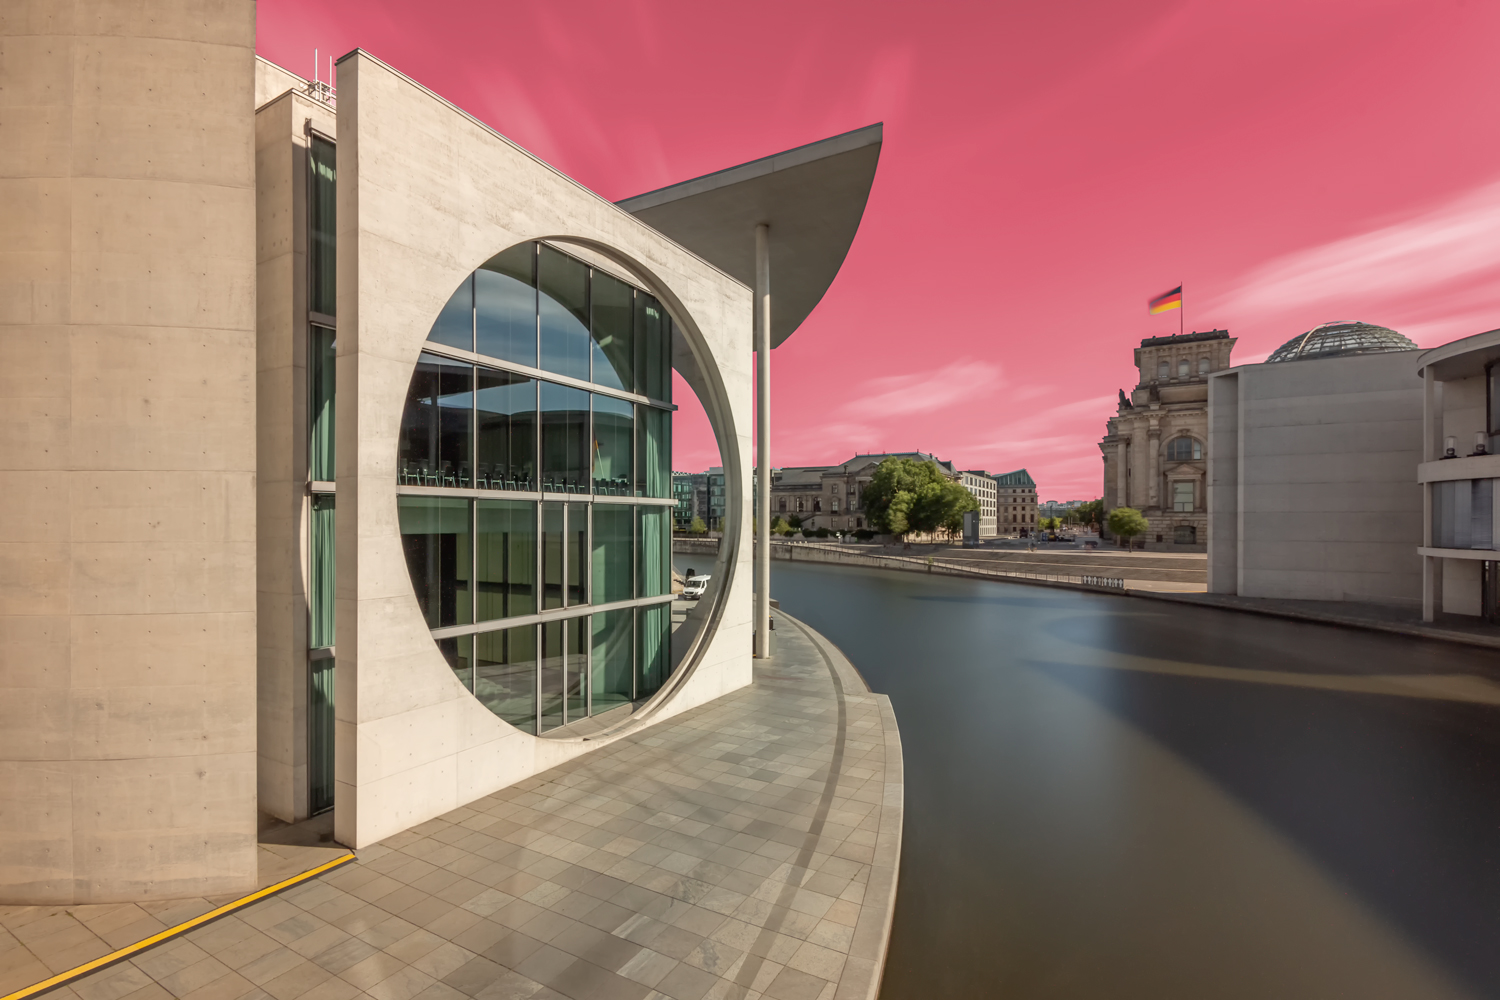
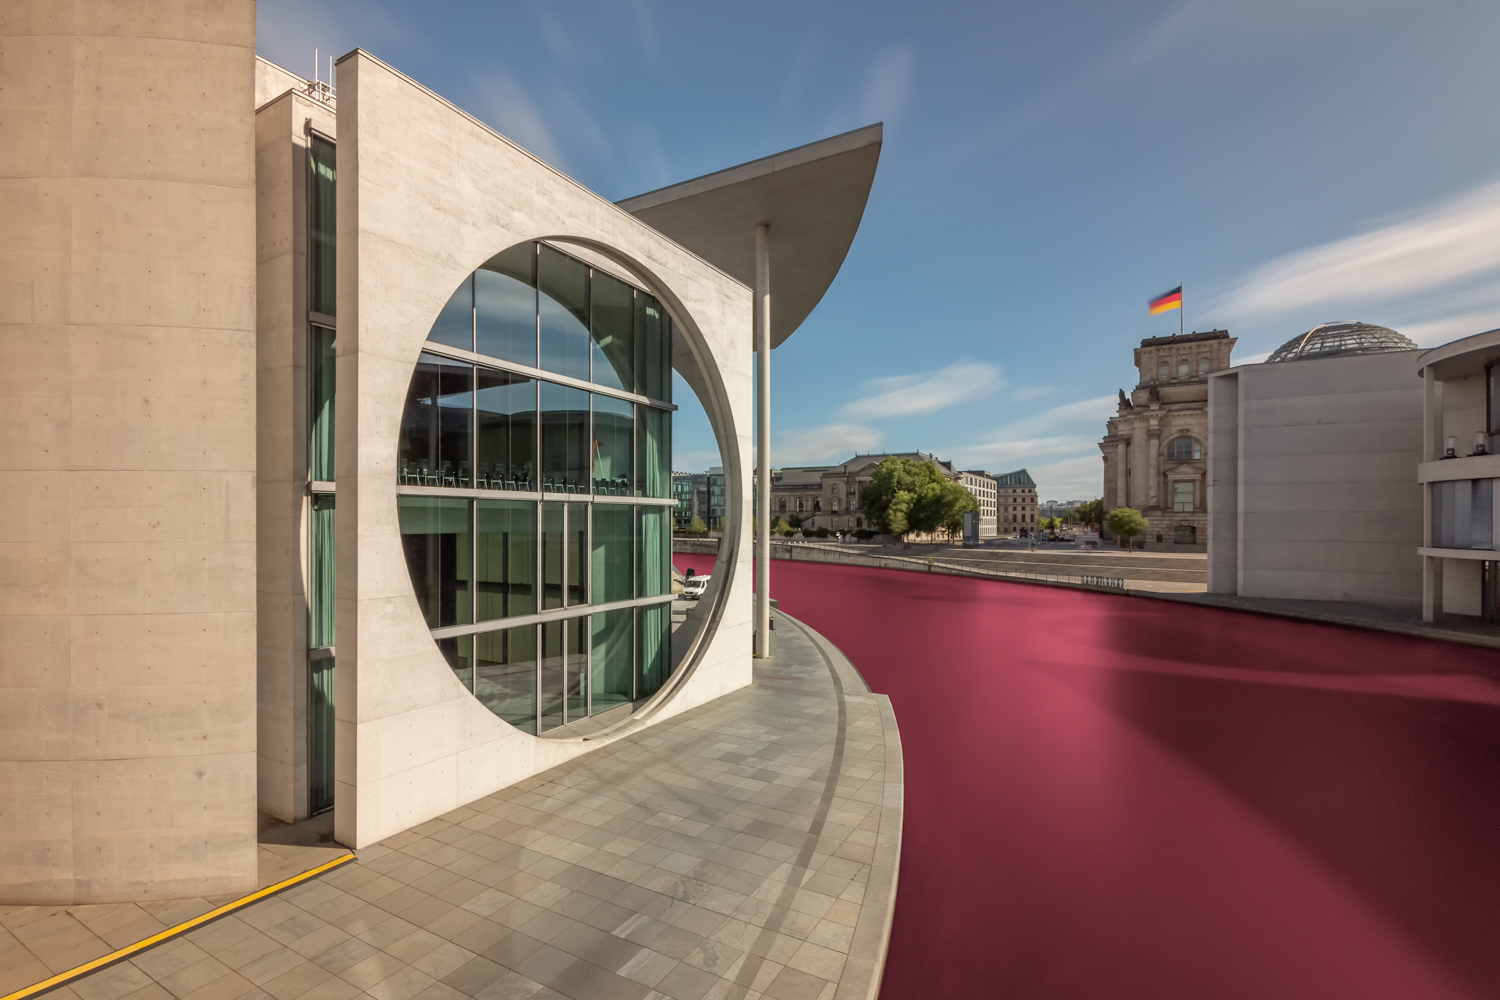
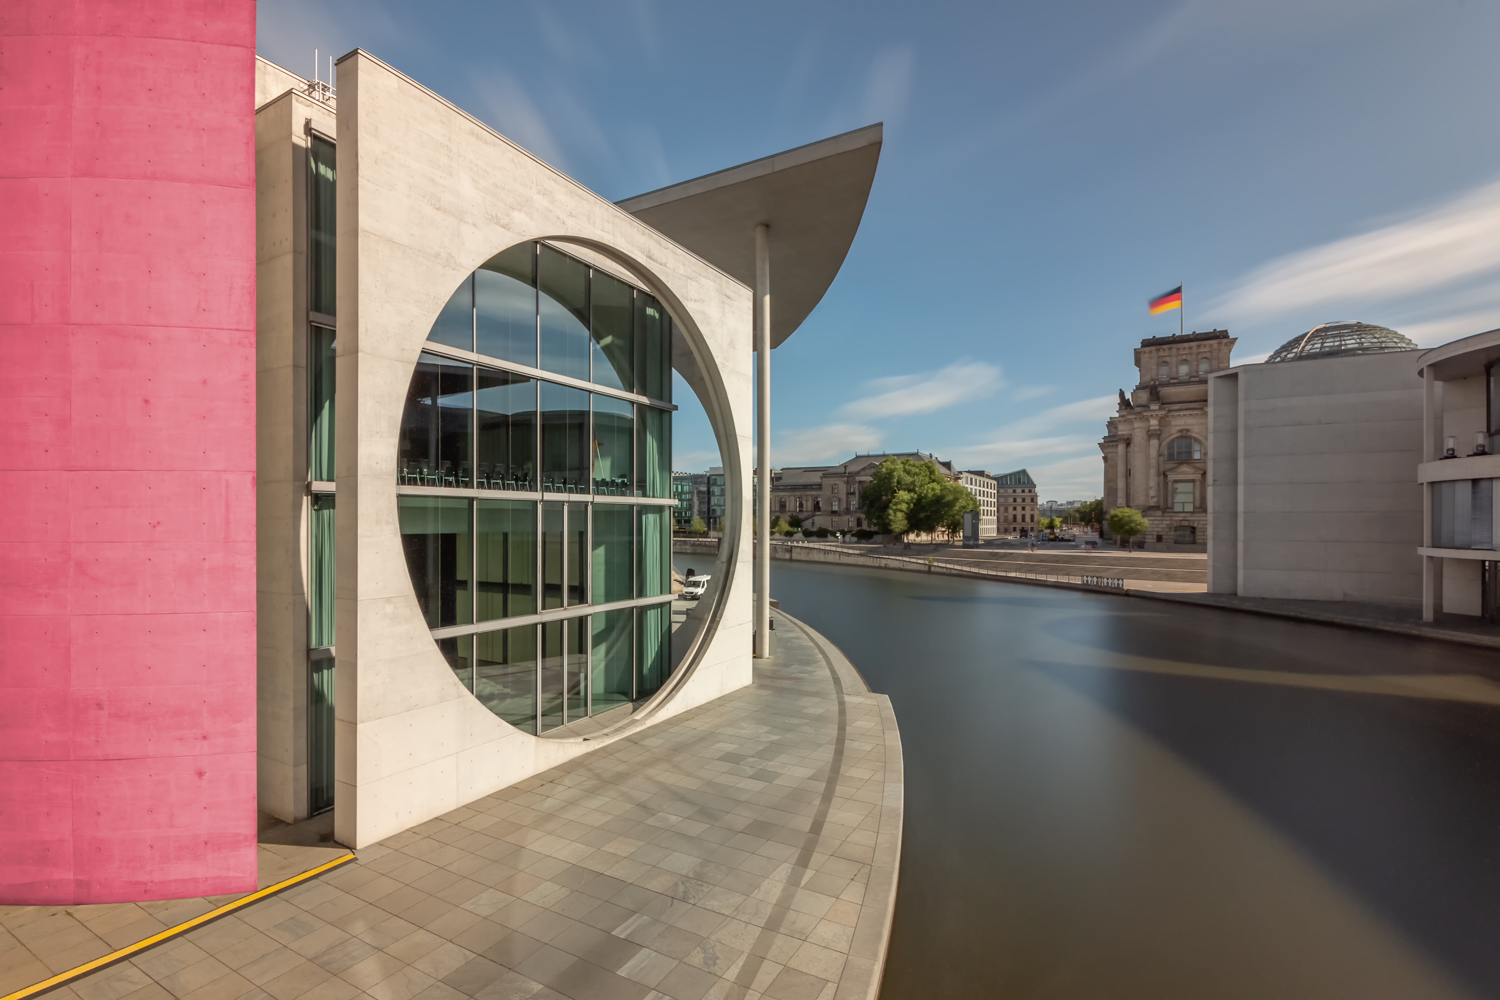
Using Nik Software’s Silver Efex plugin I’ve generated three different themes that will serve as the ‘building blocks’ to my creation work. The main goal is to separate dark, mid and light themes remembering that the viewers eye is drawn to the light and contrasted areas.
The dark theme is therefore flat in terms of contrast revealing not many details. The balanced theme has many details, it is high on contrast and structure. The light theme is kind of a high-key edit. It will be used to pop certain elements in the frame some more and add drama as it will contradict the flat dark areas.
Playing with light
This is where all the hard work pays off and all the fun begins. Using the ‘building blocks’ I’ve just created- the themed layers and the selections, I’m can now selectively mask the different parts of the frame with gradients and blurry brushes to cast the light level of my desire on each and every part of the picture.
First, the balanced contrasted theme over the dark one:
…and then the light theme over the outcome of the previous mask:
Note how the river and the sky are masked in from the light layer, while the pavement, for example, is masked in from the balanced layer.
Here’s a short video to sum up the sequence of work. Hope you enjoy it.
Got any questions? feel free to ping me. here